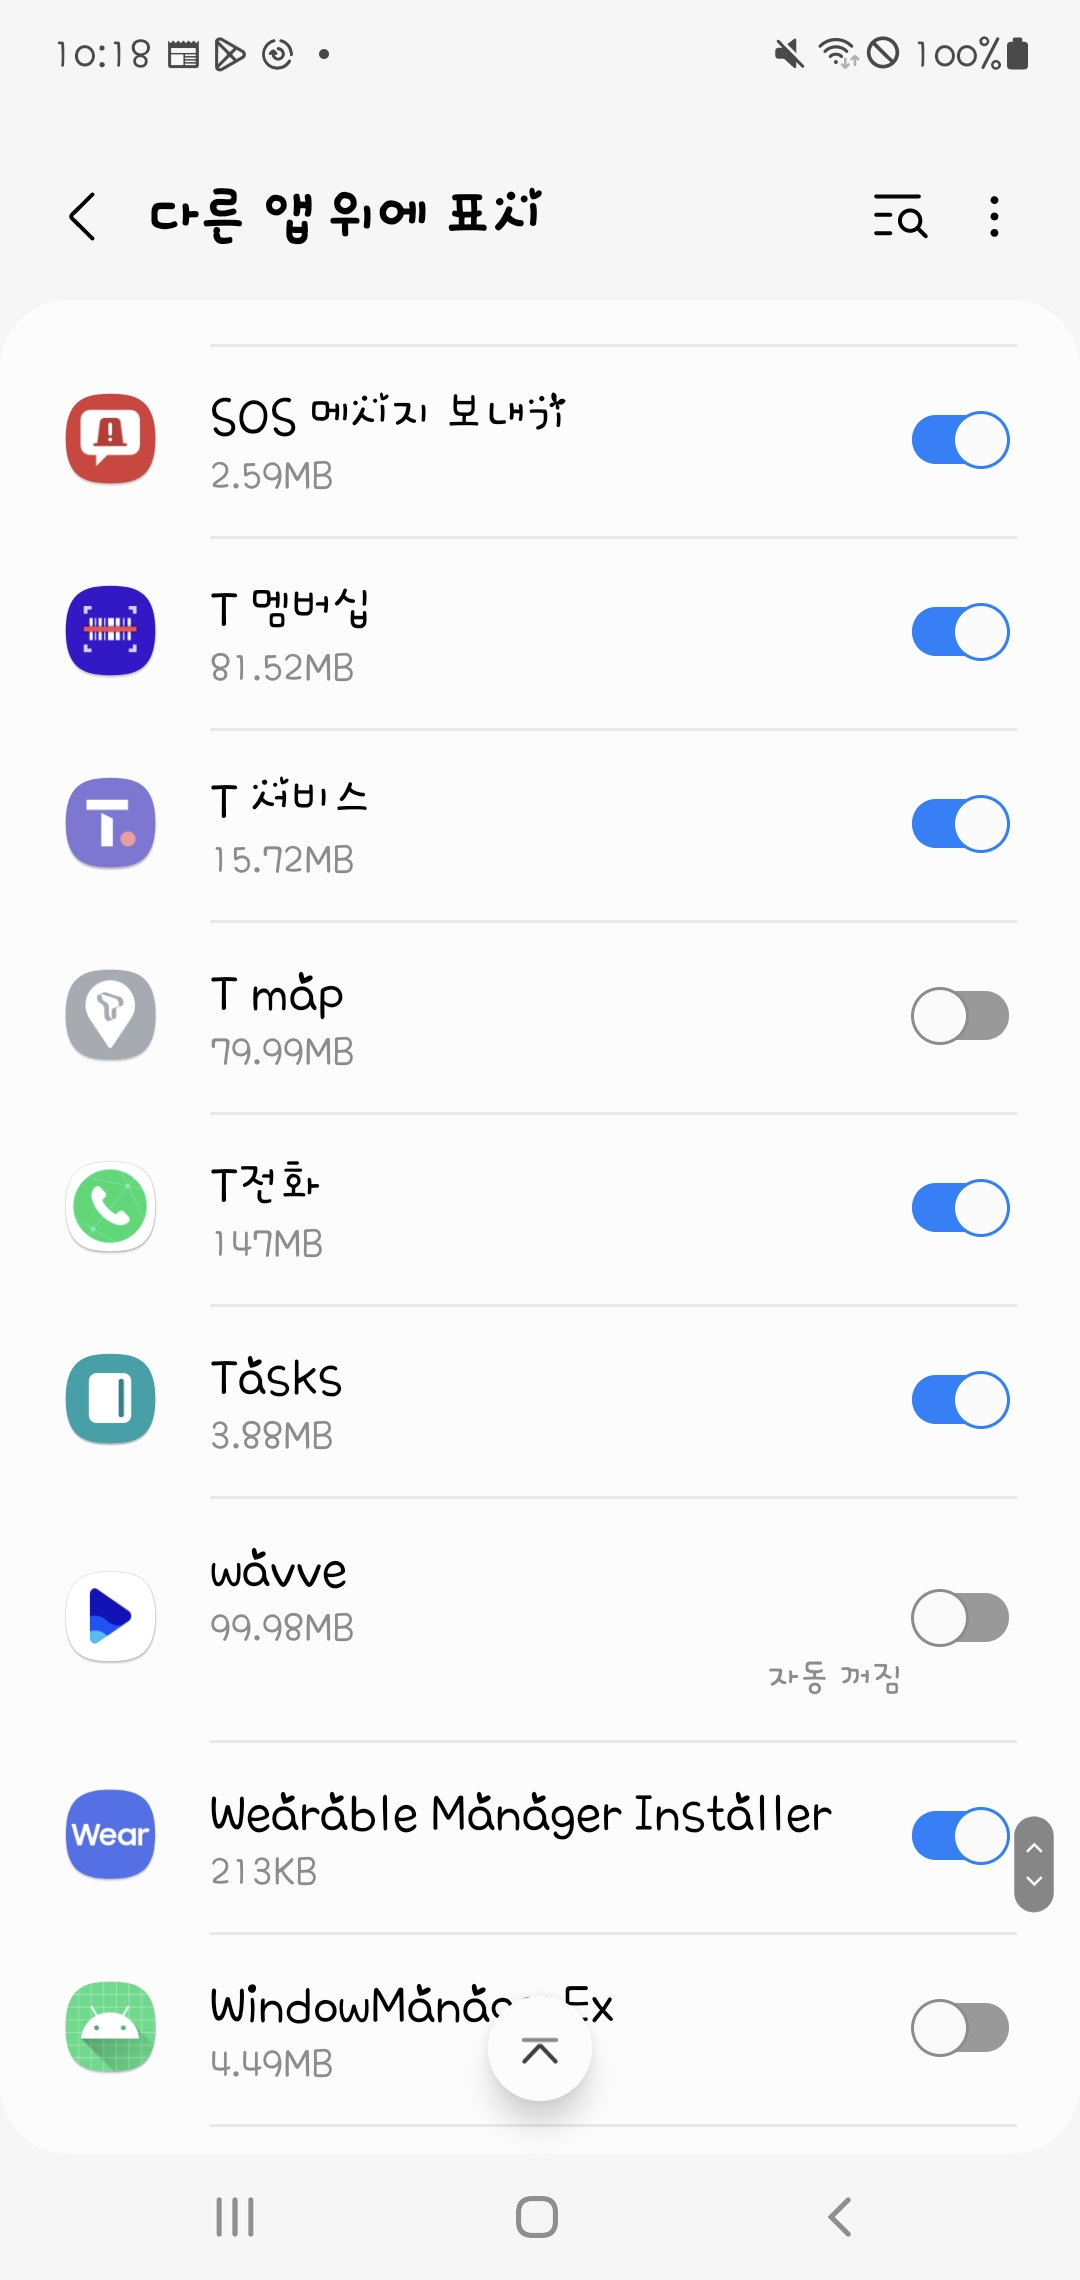
요즘 휴대폰 최상단에 뷰를 그려주는 앱이 많다.
아마 "다른 앱 위에 그리기" 를 허용하는 앱이 많은 것을 다들 보셨을텐데, 그 기능이다.
어떻게 사용하는지 보자.
간단하게 액티비티와 윈도우에 구애받지 않는다는 것을 보여주기 위해 두 개의 액티비티와, 윈도우 위에 그릴 하나의 뷰를 준비한다.
예시 파일은 아래에 접어두었다.
(접은 글 안에 있는, 최상단 뷰를 호출하는 코드와 권한을 요쳥하는 코드는 아직 포함하지 않았다.)
(또한, 뷰를 껐다가 켤 수 있는 전역변수를 const로 지정하기 위해 object 파일을 하나 더 만들었다)
- MainActivity.kt
class MainActivity : AppCompatActivity() {

    private lateinit var textViewMain : TextView
    private lateinit var textViewWindow : TextView

    private var windowManagerView : WindowManagerView? = null

    override fun onCreate(savedInstanceState: Bundle?) {
        super.onCreate(savedInstanceState)
        setContentView(R.layout.activity_main)

        findView()
        setListener()
        initWindowManager()
    }

    private fun findView() {
        textViewMain = findViewById(R.id.textViewMain)
        textViewWindow = findViewById(R.id.textViewWindow)
    }

    private fun setListener() {
        textViewMain.setOnClickListener {
            var intent = Intent(this, ExtraActivity::class.java)
            startActivity(intent)
        }

        textViewWindow.setOnClickListener {

        }
    }

    private fun initWindowManager() {
        windowManagerView = WindowManagerView(this)
    }

}
- activity_main.xml
<?xml version="1.0" encoding="utf-8"?>
<androidx.constraintlayout.widget.ConstraintLayout xmlns:android="http://schemas.android.com/apk/res/android"
    xmlns:app="http://schemas.android.com/apk/res-auto"
    xmlns:tools="http://schemas.android.com/tools"
    android:layout_width="match_parent"
    android:layout_height="match_parent"
    tools:context=".MainActivity"
    android:background="@color/example_pink1">

    <TextView
        android:id="@+id/textViewMain"
        android:layout_width="wrap_content"
        android:layout_height="wrap_content"
        android:text="Main Acitivty"
        app:layout_constraintBottom_toBottomOf="parent"
        app:layout_constraintEnd_toEndOf="parent"
        app:layout_constraintStart_toStartOf="parent"
        app:layout_constraintTop_toTopOf="parent" />


    <TextView
        android:id="@+id/textViewWindow"
        android:layout_width="wrap_content"
        android:layout_height="wrap_content"
        android:text="window"
        app:layout_constraintBottom_toBottomOf="parent"
        app:layout_constraintEnd_toEndOf="parent"
        android:layout_marginBottom="50dp"
        android:layout_marginEnd="50dp"
        />

</androidx.constraintlayout.widget.ConstraintLayout>
- ExtraActivity.kt
class ExtraActivity : AppCompatActivity() {
    override fun onCreate(savedInstanceState: Bundle?) {
        super.onCreate(savedInstanceState)
        setContentView(R.layout.activity_extra)
    }
}
- activity_extra.xml
<?xml version="1.0" encoding="utf-8"?>
<androidx.constraintlayout.widget.ConstraintLayout xmlns:android="http://schemas.android.com/apk/res/android"
    xmlns:app="http://schemas.android.com/apk/res-auto"
    xmlns:tools="http://schemas.android.com/tools"
    android:layout_width="match_parent"
    android:layout_height="match_parent"
    tools:context=".MainActivity"
    android:background="@color/example_pink2">

    <TextView
        android:layout_width="wrap_content"
        android:layout_height="wrap_content"
        android:text="Extra Activity!"
        app:layout_constraintBottom_toBottomOf="parent"
        app:layout_constraintEnd_toEndOf="parent"
        app:layout_constraintStart_toStartOf="parent"
        app:layout_constraintTop_toTopOf="parent" />

</androidx.constraintlayout.widget.ConstraintLayout>
- WindowManagerView.kt
class WindowManagerView(context: Context): FrameLayout(context) {

    init {
        inflate(context, R.layout.view_window_manager, this)
    }

}
- view_window_manager.xml
<?xml version="1.0" encoding="utf-8"?>
<androidx.constraintlayout.widget.ConstraintLayout xmlns:android="http://schemas.android.com/apk/res/android"
    android:layout_width="match_parent"
    android:layout_height="match_parent"
    xmlns:app="http://schemas.android.com/apk/res-auto"
    android:background="@color/example_pink3">

    <TextView
        android:layout_width="wrap_content"
        android:layout_height="wrap_content"
        android:text="windowManager"
        app:layout_constraintStart_toStartOf="parent"
        app:layout_constraintEnd_toEndOf="parent"
        app:layout_constraintTop_toTopOf="parent"
        app:layout_constraintBottom_toBottomOf="parent"/>

</androidx.constraintlayout.widget.ConstraintLayout>
- Constant.kt
object Constant {
    var WINDOW_POP = false
}
먼저 앱 위에 그리는 권한을 요청해야한다.
요청하지 않으면 permision denied Exception(permission denied for window type 2038 using TYPE_APPLICATION_OVERLAY) 오류가 발생한다.
따라서, 해당 매서드를 추가하여 오버레이에 따른 권한을 요청한다, 단, 이 요청은 O(오레오, versionCode 26)버전 이후에 등장했기 때문에, 그 하위 버전이라면 권한을 요청하지 않는다.
    private fun requestOverlayPermission() {
        if (Build.VERSION.SDK_INT < Build.VERSION_CODES.M) {
            return
        }
        val myIntent = Intent(Settings.ACTION_MANAGE_OVERLAY_PERMISSION)
        myIntent.data = Uri.parse("package:$packageName")
        startActivityForResult(myIntent, 200)
    }

    // 권한 요청 이후 result 처리
    override fun onActivityResult(requestCode: Int, resultCode: Int, data: Intent?) {
        super.onActivityResult(requestCode, resultCode, data)
    }
여기서 승인을 했다면 본격적으로 버튼을 눌렸을 때 뷰를 그리는 코드를 보자.
private fun setListener() {

...

        textViewWindow.setOnClickListener {
            if(!Constant.WINDOW_POP) {
                var layoutParam = WindowManager.LayoutParams()

                layoutParam.gravity = Gravity.TOP
                layoutParam.x = 50
                layoutParam.y = 50
                layoutParam.width = 500
                layoutParam.height = 250
                layoutParam.type = if(Build.VERSION.SDK_INT >= 26) {
                    WindowManager.LayoutParams.TYPE_APPLICATION_OVERLAY
                } else {
                    WindowManager.LayoutParams.TYPE_SYSTEM_ALERT
                }
                layoutParam.flags = WindowManager.LayoutParams.FLAG_NOT_FOCUSABLE or
                        WindowManager.LayoutParams.FLAG_NOT_TOUCH_MODAL or
                        WindowManager.LayoutParams.FLAG_LAYOUT_NO_LIMITS


                windowManagerView.let {
                    windowManager.addView(windowManagerView, layoutParam)


                }

            } else {
                windowManager.removeViewImmediate(windowManagerView)
            }

            Constant.WINDOW_POP = !Constant.WINDOW_POP

        }
    }
생각보다 굉장히 간단하지 않은가? 그냥,, 다른 뷰의 layoutParam을 설정하듯이
windowMananger이 가지고 있는 레이아웃 파라메터를 변수로 가지고 와서, 내가 원하는데로 설정한 후 그 변수와 내가 붙이고 싶은 뷰를 ㅁaddView를 이용해서 붙이면 그만이다.
만약 해당 뷰를 떼버리고 싶다면 removeViewImmediate를 이용해서 그냥 똑 떼버리면 된다.
진짜 간단하지 않은가?
ㄱ
이 코드를 실제 실행하면 ,,

먼저 권한을 요청하는 뷰를 설정화면이 뜬다.
val myIntent = Intent(Settings.ACTION_MANAGE_OVERLAY_PERMISSION)
를 통해 인텐트를 설정하고 startAcitivtyForResult를 이용해 세팅 액티비티를 열기 때문이다.
여기서 승인을 하면..

액티비티에 종속되지 않고 윈도우에 종속된 뷰가 만들어진다.
'Android > 안드로이드 스터디(Kotlin)' 카테고리의 다른 글
| Android] error : executing external native build for ndkBuild (0) | 2024.01.22 |
|---|---|
| Android Studio, Kotlin] 화면 터치 시 클릭이벤트와 손가락 무빙 이벤트를 다르게 처리하기 (0) | 2023.03.17 |
| [Android Studio] Google Firebase 연동하기(2022.02 이후) (0) | 2022.12.09 |
| [Android, IOS] 각 OS의 WebView debug 방법 (0) | 2022.10.31 |
| Android, Kotlin] 구글 인앱결제 적용하기(1회성 소모결제) (0) | 2022.05.14 |

